Monthly Archives:

April 2016

Vegetarian

Broccoli, Cheese and Pear Soup

This is a sweet and savoury soup and although green, it’s a lovely green! You can enjoy it at any time of the year as its very delicate and not heavy at all. My youngest always asks for more! Broccoli is so good for us that eating it is a must, but getting children to eat something they don’t like is not easy. Give this a try to see if you can persuade them otherwise. Try making up a suitable name for the soup and serving it with their favourite bread or croutons.

Broccoli, Cheese and Pear Soup

Print Recipe
Serves: 4 Cooking Time: 15 minutes

Ingredients

  • 1 large onion, chopped
  • 2 sticks of celery or 1 leek, chopped
  • 1 tablespoon butter or olive oil
  • 1 medium/300g broccoli head, florets removed from stem
  • 1 large pear, peeled, cored and chopped
  • 30g/few slices of Cheddar cheese
  • 650ml chicken or vegetable stock
  • black pepper

Instructions

1

Sauté the onion and celery/leek in the butter for 5 minutes over a low heat until tender.

2

Add all the remaining ingredients and bring to the boil.

3

Cover the pan with a lid, turn the heat down and simmer for 10 minutes until all the vegetables are tender.

4

Use a hand blender to blitz the mixture to a smooth soup. Try not to over blend, as it’s better for the soup to have some texture.

5

Serve with bread or croutons.

Notes

If you don’t have a pear, try using pear purée or an apple instead. (Don't worry that the liquid doesn't cover the broccoli, it steam cooks) I sometimes make mine in a soup maker: just add all the ingredients and set to purée – it’s just as nice. * Keeps for up to 24 hours in the fridge * Not suitable for freezing

Breakfast/ Lunch/ Vegetarian

Parsnip Pancakes

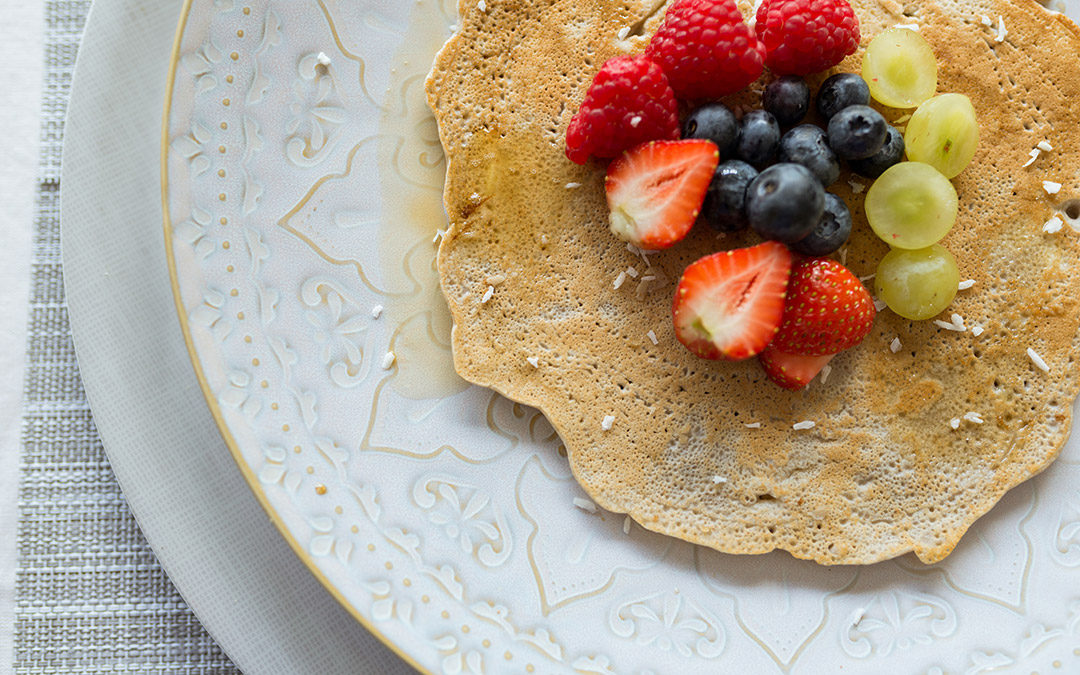
parsnip pancakes

These make a lovely change for the weekend – or even a lunch or light dinner. They are a great treat with a healthy kick of goodness. You can make the mixture the night before and just add a splash of water in the morning to loosen it up. The mixture will last for 2 days in the fridge. The pancakes taste delicious with lemon juice, maple syrup and a dollop of almond butter, or for a savoury dish we have it with butter, bacon or smoked salmon, and sliced tomato.

Parsnip Pancakes

Print Recipe
Serves: 8 Cooking Time: 25 mins

Ingredients

  • 225g flour (I use buckwheat flour)
  • 3 eggs
  • 200ml milk
  • 150ml water
  • 120g peeled and grated parsnip (2–3 parsnips)
  • coconut oil or butter, for greasing

Instructions

1

Pour the flour into a large bowl or jug, make a well in the middle, crack the eggs into the well and whisk into the flour using a metal spoon. Add a little milk and stir until you get a thick smooth paste, then add the rest of the milk gradually, stirring between each addition. Add the grated parsnip and water give it a good whisk.

2

Heat a frying pan over a medium heat and add a little coconut oil or butter.

3

Once hot, use a ladle to slowly pour puddles of the batter into the frying pan – you should be able to fit at least 2 in the pan if you are making smaller ones.

4

For the larger crepe-style pancakes, add an extra 50ml water-whish. Put the mixture in the middle of the frying pan and swivel.

5

Don’t use too much mixture or they will be too thick.

6

Turn them over after 1–2 minutes and cook on the other side for a further 1–2 minutes.

7

The best time to turn the pancakes over is when the bubbles on top start to burst and the edges of the pancakes have started to firm up – any sooner and they will fall apart, any later and they will start to burn. Cook until both sides are a light golden brown, then remove from the pan.

8

Add a little more oil for the next batch, if needed. Stir the batter and repeat. Keep going until you have cooked all the batter.

Notes

Tip: you could make the big pancakes and cut them in half to serve for younger ones rather than making 16 little ones. * Keeps for up to 3 days in the fridge * Freezable for up to 3 months: Let the pancakes cool completely and place in a plastic container with a sheet of baking paper separating each one. To reheat, defrost completely and lightly fry on each side until hot.


Desserts/ Vegetarian

Coconut Chocolate Squares

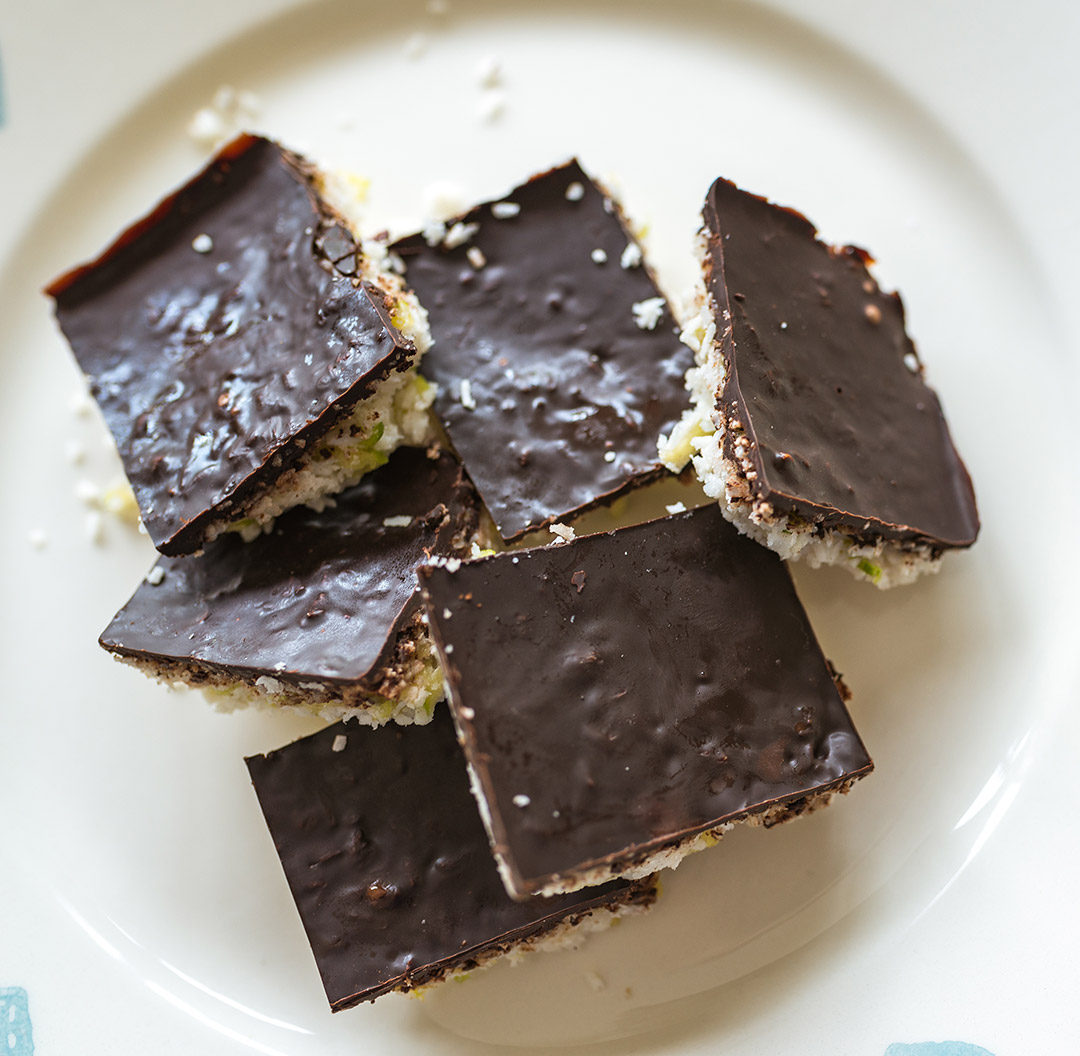
coconut chocolate squares

My daughter even tried these ones and had to admit to liking them. They don’t take very long and they are really tasty! The squares are a healthy alternative to a chocolate treat, the added courgette with the coconut gives it a good kick of nutrients in every bite! The children really enjoy making these.

Coconut Chocolate Squares

Print Recipe
Serves: 16 Cooking Time: 5 mins

Ingredients

  • 125g desiccated coconut
  • 90g grated courgette
  • 2 heaped tablespoon coconut oil, melted
  • 2 tablespoons honey
  • 1 teaspoon vanilla extract
  • 100g dark chocolate (85-90% cocoa solids)

Instructions

1

Line a 20cm square baking dish or cake pan with baking paper that reaches a little up the side to make it easy to pull out once set.

2

Combine the coconut, courgette, coconut oil, honey and vanilla in a large mixing bowl.

3

Press the mixture into the prepared dish and place in the fridge for 30 minutes to firm up.

4

Meanwhile, melt the chocolate. Boil a little water in a small saucepan, then set a small heatproof bowl over the top of the pan, ensuring that the bottom of the bowl does not come into contact with the water. Break the chocolate up into small squares and rest it on top of the bowl.

5

Once the chocolate has melted remove it from the heat. Let chocolate cool for a few seconds before pouring it over the set coconut mixture.

6

Use the back of a metal spoon to spread it evenly across the dish, then chill in the fridge until set (at least 30 minutes).

7

Once set, turn out of the pan onto a chopping board and chop into 16 squares with a sharp knife.

Notes

Tip: You could also make the mixture into individual desserts by assembling it in ramekin dishes. These need to be kept in the fridge in order to keep their shape. They are also freezable.